The storm has passed. Now you’re standing in the yard, looking up at missing shingles and wondering what to do next.
A storm damage roof insurance claim can feel overwhelming. But it doesn’t have to be. Homeowners who act quickly, document everything, and understand their policy tend to get paid faster and with fewer headaches.
This guide walks you through the whole process, from the first hour after the storm to the final payout. Let’s get started.
What Is a Storm Damage Roof Insurance Claim?
A storm damage roof insurance claim is a formal request you make to your home insurance company. You’re asking them to pay for repairs or replacement after a storm damages your roof.
Most standard homeowners policies cover sudden, accidental damage from events like:
- Hail
- High winds and tornadoes
- Falling trees and branches
- Heavy snow and ice
- Lightning strikes
Your policy usually pays for damage caused by a specific storm. It does not pay for wear and tear or neglected maintenance. That difference matters a lot, and we’ll come back to it.
Does Homeowners Insurance Cover Roof Storm Damage?
In most cases, yes. But coverage depends on your policy. Some policies have separate wind or hail deductibles. Others limit payouts on older roofs. Flood damage, which is different from wind-driven rain, is typically excluded and needs separate flood insurance.
Read your policy’s “perils covered” section before you call anyone.
Step 1: Stay Safe and Protect Your Family
Safety comes first. A damaged roof can hide serious dangers.
- Stay off the roof. Wet, damaged surfaces are slippery and unstable.
- Watch for downed power lines and stay far away from them.
- Check your attic and ceilings for sagging or active leaks.
- If a tree has hit your home, leave the area until it’s checked.
If you smell gas or see structural damage, call emergency services right away.
Step 2: Prevent Further Damage (Temporary Repairs)
Your policy almost certainly requires you to protect your home from more damage. This is often called the “duty to mitigate.”
You can take these steps:
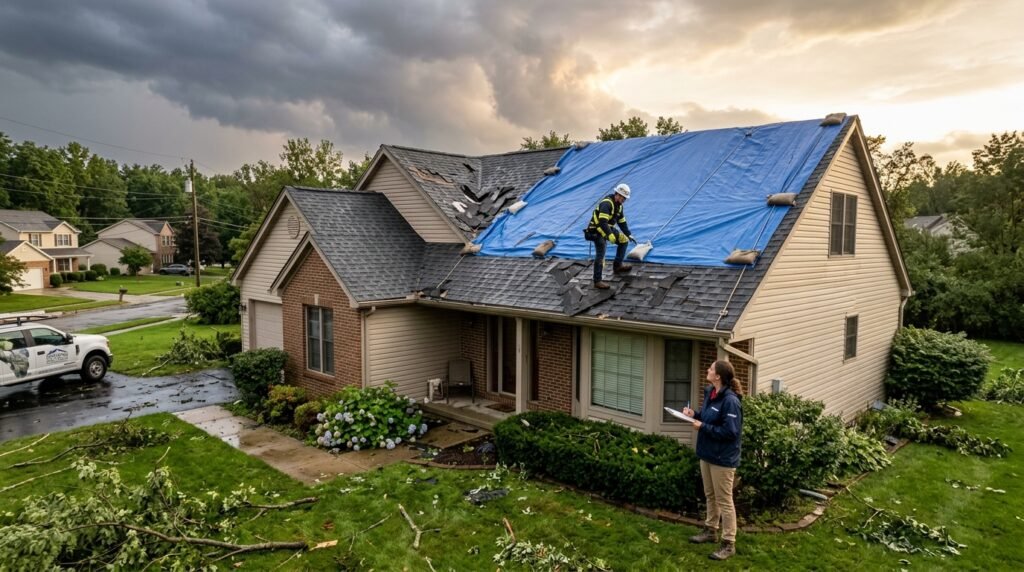
- Cover exposed areas with a tarp or plywood.
- Place buckets under leaks.
- Move furniture and valuables away from wet spots.
Keep every receipt. Reasonable temporary repair costs are often reimbursable. Don’t start permanent repairs yet, though. Your insurer needs to see the damage first.
Step 3: Document the Damage Thoroughly
This step can make or break your storm damage roof insurance claim. Think of yourself as a detective building a case.
What to Photograph and Record
- Wide shots of the whole house and roof from the ground
- Close-ups of missing, cracked, or bent shingles
- Dented gutters, vents, and flashing (these often show hail damage)
- Water stains on ceilings and walls inside
- Debris, fallen limbs, or hail scattered on the ground
- Date and time stamps on everything
Take video too. Walk around your home and narrate what you see.
Pro tip: Also gather “before” photos if you have them. Real estate listings, older phone photos, and past inspection reports can prove your roof was in good shape before the storm.
Step 4: Review Your Insurance Policy
Before you call, know what you’re working with. Look for these details:
- Deductible: Many policies use a flat dollar amount. Wind and hail deductibles are often a percentage of your home’s insured value, commonly 1% to 5%.
- Actual cash value (ACV) vs. replacement cost value (RCV): ACV subtracts depreciation. RCV pays the full cost to replace the roof. This can mean thousands of dollars in difference.
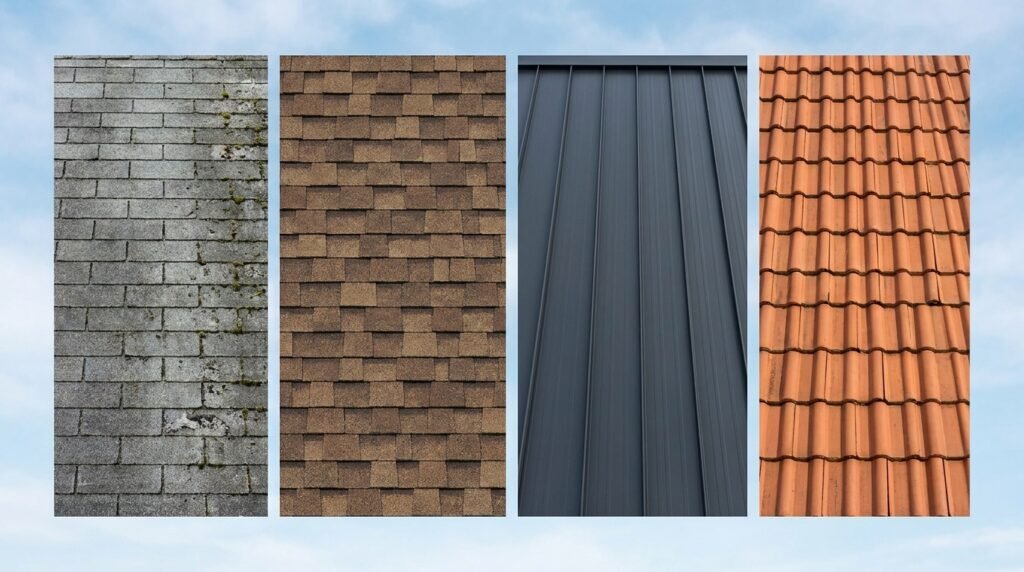
- Roof age schedules: Some insurers pay less for older roofs.
- Cosmetic damage exclusions: Some policies don’t cover dents that don’t affect how the roof works.
- Filing deadlines: These vary by state and insurer. Some give you a year or less, so don’t wait.
If the deductible is higher than the likely repair cost, filing may not make sense. A quick estimate from a roofer can help you decide.
Step 5: Get a Professional Roof Inspection
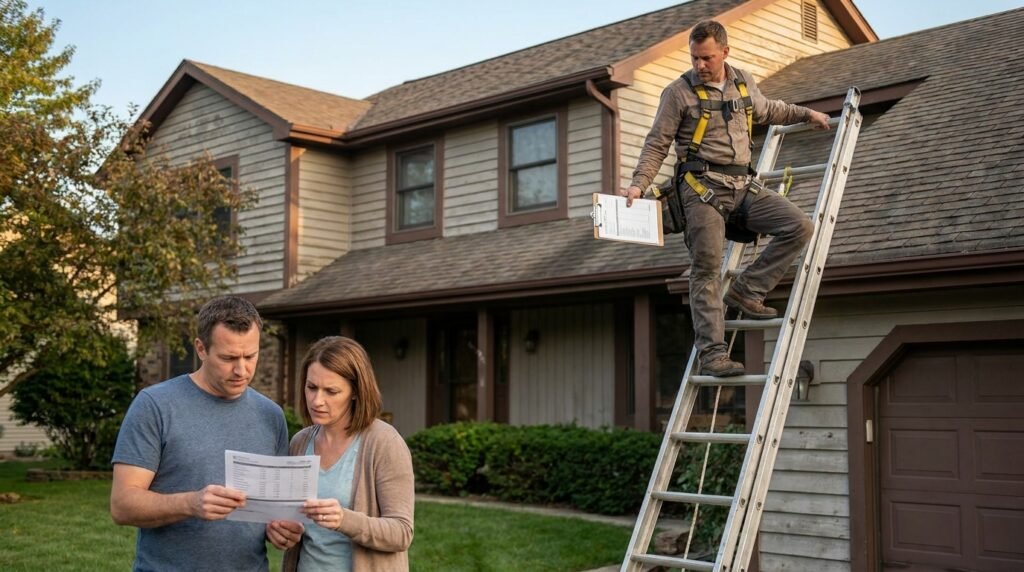
Hire a licensed, insured local roofing contractor to inspect the roof. Many offer free storm damage inspections.
A good inspection report should include:
- Photos of all damage
- The type and cause of damage
- Whether repair or full replacement is needed
- A written estimate
How to Spot a Storm-Chasing Scam
After big storms, out-of-town crews often knock on doors. Be careful. Watch for these red flags:
- Pressure to sign a contract immediately
- Requests for full payment upfront
- Offers to “waive your deductible” (this can be insurance fraud in many states)
- No local address or license number
Check reviews, verify the license with your state, and never sign over your claim rights without understanding what you’re signing.
Step 6: File Your Storm Damage Roof Insurance Claim
Now it’s time to contact your insurer. You can usually file by phone, through the company’s app, or online.
What to Have Ready
- Your policy number
- Date and type of storm
- A short description of the damage
- Your photos and videos
- The contractor’s inspection report and estimate
Stick to the facts. Don’t guess about the cause or speculate about costs. Say what you saw and when.
Write down your claim number, the name of every person you speak with, and the date of each call. This paper trail protects you if disputes come up later.
Step 7: Meet the Insurance Adjuster
Your insurer will assign an adjuster to inspect the damage. This person estimates how much the company will pay.
How to Prepare for the Adjuster Visit
- Be there in person if you can.
- Ask your roofer to attend. They can point out damage the adjuster might miss.
- Show your photos and notes.
- Ask questions and take notes on the answers.
Remember, the adjuster works for the insurance company. They’re often fair, but their job is to evaluate the claim based on the policy. Your job is to make sure nothing gets overlooked.
Step 8: Review the Settlement Offer
After the inspection, the insurer will send a written decision. It may approve the claim in full, approve part of it, or deny it.
Compare their estimate line by line with your contractor’s estimate. Look for:
- Missing items, like underlayment, flashing, or drip edge
- Lower labor or material prices than local rates
- Repairs offered where your contractor recommends replacement
- Depreciation held back under an RCV policy
Under a replacement cost policy, you often get part of the money upfront and the rest (“recoverable depreciation”) after you finish the work and send proof. Read the timeline carefully.
Step 9: What to Do If Your Claim Is Denied or Underpaid
A denial isn’t always the end. Many homeowners successfully challenge them.
Common Reasons for Denial
- Damage was judged to be wear and tear
- The claim was filed too late
- The roof damage was pre-existing
- The damage was below the deductible
- Policy exclusions applied
How to Fight Back
- Ask for the denial in writing with the specific policy language used.
- Submit more evidence, such as a second inspection, weather reports, and dated photos.
- Request a re-inspection and bring your contractor.
- Consider a public adjuster. They work for you and typically charge a percentage of the settlement, often 10% to 20%.
- Use the appraisal clause, if your policy has one, to settle disputes over the amount.
- File a complaint with your state’s department of insurance.
- Talk to an attorney for large or complex disputes.
Step 10: Hire a Contractor and Complete the Repairs
Once you have an approved settlement, choose your contractor. You’re not required to use one your insurer recommends.
Before signing:
- Get at least two or three bids.
- Confirm license and liability insurance.
- Ask about warranties on labor and materials.
- Get everything in writing, including the scope of work and timeline.
Take photos during and after the project. Send the final invoice to your insurer to release any held-back funds.
Common Mistakes That Hurt a Storm Damage Roof Insurance Claim
Avoid these traps:
- Waiting too long. Delays can weaken your claim and may violate deadlines.
- Making permanent repairs first. The insurer may not get to see the original damage.
- Skipping documentation. Without proof, you’re relying on memory.
- Accepting the first offer without review. Initial estimates are often lower than actual costs.
- Signing an “assignment of benefits” carelessly. Some states have restricted or banned these because of abuse. Understand what you’re giving up.
- Hiding roof problems that existed before. Honesty protects you. Misrepresentation can void a claim.
How Long Does a Storm Damage Roof Insurance Claim Take?
It varies. Simple claims may settle in a few weeks. Large storms, with thousands of claims at once, can take months. Disputes take longer still.
Many states require insurers to acknowledge your claim and respond within set timeframes. Check your state’s insurance department website for the rules where you live.
Will Filing a Claim Raise Your Premiums?
Possibly. Insurers may raise rates or decline to renew after claims, though a widespread storm often affects everyone in the area. Some companies treat weather claims more gently than others. Ask your agent how a claim might affect your policy before filing, especially for small repairs near your deductible.
Tips to Strengthen Your Roof Before the Next Storm
Prevention pays off. Consider these steps:
- Schedule yearly roof inspections.
- Trim overhanging tree limbs.
- Clean gutters regularly.
- Fix small issues before they grow.
- Ask about impact-resistant shingles, which may qualify for premium discounts.
- Keep dated records of roof maintenance and upgrades.
Conclusion
A storm damage roof insurance claim takes patience, but it’s very manageable when you follow the right steps. Stay safe, protect your home, document everything, and know your policy. Get a trustworthy inspection, review the settlement carefully, and don’t be afraid to push back if the offer seems low.
The insurance company has its process. Now you have yours. Start with your photos today, and you’ll be far ahead of the game.
Frequently Asked Questions (FAQs)
How long do I have to file a storm damage roof insurance claim?
It depends on your state and policy. Deadlines commonly range from several months to a year or more after the storm, and some policies require “prompt” notice. File as soon as you can and check your policy for the exact timeframe.
Will insurance replace my entire roof after storm damage?
Not always. If the damage is limited, your insurer may pay for repairs only. Full replacement is more likely when damage is widespread, repairs aren’t practical, or shingles can’t be matched. Your policy’s terms, including roof age and ACV vs. RCV, also affect the outcome.
Should I get a roofer’s inspection before calling my insurance company?
It helps. An inspection gives you professional documentation and a clearer picture of the damage. You can report the claim right away and get the inspection at the same time, so you don’t miss any deadlines.
What if my storm damage roof insurance claim is denied?
Ask for a written explanation, gather more evidence, and request a re-inspection. You can also hire a public adjuster, use the appraisal process, file a complaint with your state insurance department, or consult an attorney.